Repairing damaged glass can seem intimidating, but with the right techniques and tools, it’s a task that can be accomplished. Whether you’re dealing with a cracked window, broken glassware, or a shattered phone screen, understanding the correct repair methods can help restore the glass to its original state.
Below, we will explore detailed steps for repairing different types of glass and offer tips for ensuring a successful repair.
General Preparation For Glass Repairs
Before you begin any repair, there are some general steps to follow to ensure a safe and effective process.
1. Assess The Damage
The first step in any glass repair process is to assess the damage. The extent of the damage will guide your decision on whether to attempt a repair or replace the glass altogether.
- Cracks: Minor cracks can often be repaired, especially in glassware and windows. A small crack may not affect the overall integrity of the glass.
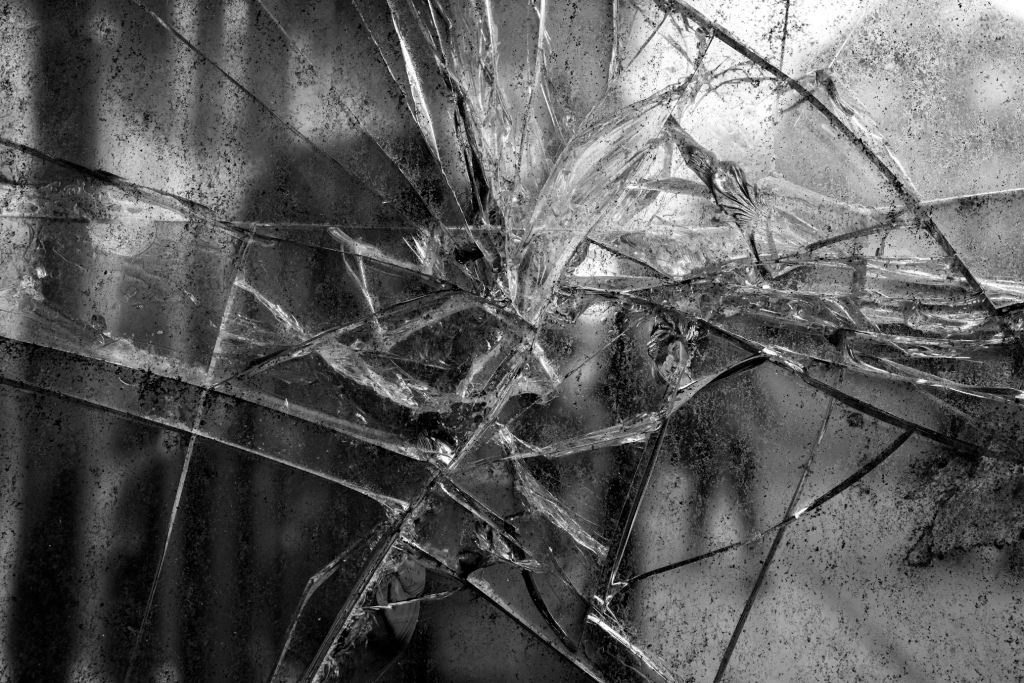
- Shattered Glass: If the glass is completely shattered, it is usually better to replace it. Attempting to repair shattered glass can result in an unstable repair.
2. Safety Precautions
Handling broken glass is dangerous, so always ensure you are taking safety precautions before starting any repair work.
- Wear safety gloves to protect your hands from cuts.
- Use safety goggles to protect your eyes from flying shards.
- Make sure the area is clear of debris, and use a dust mask if necessary to avoid inhaling any glass dust.
3. Gather The Right Tools
Depending on the repair method, different tools will be required. Be sure you have all the tools and materials on hand before starting.
- For window repairs: Replacement glass, putty knife, glazing compound, safety gloves, glass cutter.
- For glassware repairs: Epoxy or specialised glass adhesive, gloves, paper towels.
- For minor window cracks: Clear adhesive or epoxy, razor blade, and paper towels.
Repairing Broken Window Glass
Window repairs, especially when dealing with cracks or breaks, are relatively straightforward but can require precision to ensure a stable and long-lasting result.
Tools Required For Window Repairs
- Replacement glass (measurements taken prior)
- Putty knife
- Glazing compound
- Safety gloves
- Glass cutter (for cutting the replacement glass to size)
Steps To Repair Broken Window Glass
- Remove the Broken Glass:
- Use a putty knife to gently remove any broken glass from the window frame.
- Carefully dispose of broken glass in a cardboard box to avoid any injuries.
- If there are stubborn glass fragments, use pliers to pull them out safely.
- Prepare the Window Frame:
- Use a putty knife to scrape off the old putty from the window frame.
- If necessary, apply a heat gun to soften the old putty for easier removal.
- Measure and Cut the Replacement Glass:
- Measure the window frame’s dimensions accurately.
- Cut the new glass to fit the window frame. Be sure the glass is slightly smaller than the frame to allow for expansion.
- Install the New Glass:
- Place the new glass into the frame and press it down gently.
- Secure the glass using glazing points, pressing them into the frame to hold it in place.
- Apply New Putty:
- Roll out window putty and press it around the edges of the glass to ensure it stays in place.
- Use a putty knife to smooth the putty and achieve a neat finish.
- Allow to Dry:
- Let the putty dry for at least a week before painting or further work. This ensures it is fully set.
Pro Tip
For double-paned windows, it’s recommended to hire a professional. These windows require careful sealing to maintain insulation and structural integrity.
Using Epoxy For Small Cracks In Glassware
Epoxy is an excellent option for repairing minor cracks in glassware like wine glasses, vases, and other small glass items. It is an easy and affordable solution.
Tools Needed For Glassware Repair
- Epoxy or glass-specific adhesive
- Gloves
- Paper towels
Steps For Epoxy Repair
- Clean the Glass:
- Wash the glass thoroughly with warm, soapy water.
- Dry it completely to remove any dust or oils that could interfere with the adhesive bond.
- Apply the Epoxy:
- Apply a thin layer of epoxy or glass adhesive along the cracked edges.
- Carefully align the cracked pieces, ensuring that they fit together perfectly.
- Hold and Set:
- Gently hold the glass together until the epoxy begins to set. Depending on the adhesive, you may need to hold it for several minutes.
- Clean Off Excess Glue:
- Wipe away any excess glue with a damp paper towel before it hardens.
- Allow to Cure:
- Let the adhesive cure fully according to the manufacturer’s instructions. Some adhesives may take several hours to bond completely.
Pro Tip
Consider using UV resins for clear glassware, as these adhesives cure quickly under UV light. However, UV resins are not suitable for all types of glass.
DIY Methods For Small Window Cracks
If you have a minor crack in a window pane, a DIY repair with clear adhesive or epoxy might be sufficient. This method is ideal for temporary fixes, especially if the crack is not compromising the window’s structural integrity.
Tools Needed For Small Window Cracks
- Glass adhesive or epoxy
- Razor blade
- Paper towels
Steps For DIY Repair Of Minor Cracks
- Clean the Cracked Area:
- Clean the crack and the surrounding area thoroughly to remove dirt and debris.
- Apply the Adhesive:
- Apply a small amount of clear adhesive to the crack. Use a razor blade to spread the adhesive evenly along the crack.
- Make sure the adhesive fills the crack.
- Allow to Dry:
- Allow the adhesive to dry completely. Refer to the adhesive’s instructions for the exact curing time.
Pro Tip
This method works well for small cracks but is not recommended for windows exposed to significant pressure, such as in high-traffic areas or windows that will be exposed to extreme weather conditions.
Tips For Successful Glass Repairs
Even with the right tools and steps, there are a few tips to keep in mind to ensure your repair is effective.
1. Use The Right Adhesive
- Always choose an adhesive specifically designed for the type of glass you are repairing. For example, use epoxy for glassware, and glazing compound for windows.
- Do not use general-purpose glue as it may not bond well or withstand pressure.
2. Clean The Glass Thoroughly
- Make sure the surface of the glass is completely clean before applying adhesive or putty. Dust, oil, or dirt can weaken the bond and lead to poor results.
3. Be Patient With Drying Times
- Do not rush the drying process. Ensure the adhesive or putty is fully set before using the repaired glass.
4. Wear Protective Gear
- Always wear gloves and goggles when handling broken glass to avoid cuts and injuries.
Conclusion
Repairing damaged glass can be a manageable task with the right approach and tools. Whether you’re fixing a cracked window, restoring glassware, or tackling a minor window crack, following the proper steps and using the appropriate adhesives can ensure a successful repair.
Always take your time, work safely, and be patient with the drying process to achieve the best results. With these tips, you can save time and money by repairing glass items yourself, while also enjoying the satisfaction of a job well done.
Frequently Asked Questions
How Do I Know If The Glass Is Too Damaged To Repair?
If the crack or chip is larger than 1-2 inches or affects the structural integrity of the glass, it is generally too damaged to repair safely. In these cases, replacing the glass is usually the best option.
What Materials Do I Need To Repair Damaged Glass?
You will need a glass repair kit, which typically includes resin, a syringe or applicator, a razor blade, and a cloth. You may also need a suction cup for handling the glass, depending on the size and location of the damage.
How Long Does It Take To Repair Damaged Glass?
The repair process usually takes a few hours, depending on the size of the damage and the drying time of the resin. For optimal results, it’s best to allow the repaired glass to cure for 24 hours before using it again.
Visit this page for more details.